With GraphicSVG 7.2.0, you can fill shapes with gradients. The two kinds of gradients can be created: linear and radial.
A gradient is a series of colours that fade into each other. The colours their positions are called stops.
Let's create a square!
square 20
  |> filled red
That square was filled red. Pretty boring! Instead, lets make the circle with a linear gradient!
square 20
  |> filled
    (gradient
      [
        stop 5 red
      ]
    )
Not much has changed!! That's because we only have one stop, so the whole square is just red! Let's try adding another stop.
square 20
  |> filled
    (gradient
      [
        stop red 5
      , stop orange 10
      ]
    )
Now we're getting somewhere! Now, at a position of x=5, we have red, and at a position of x=10, we have orange, and between them is a nice fade from one to the other.
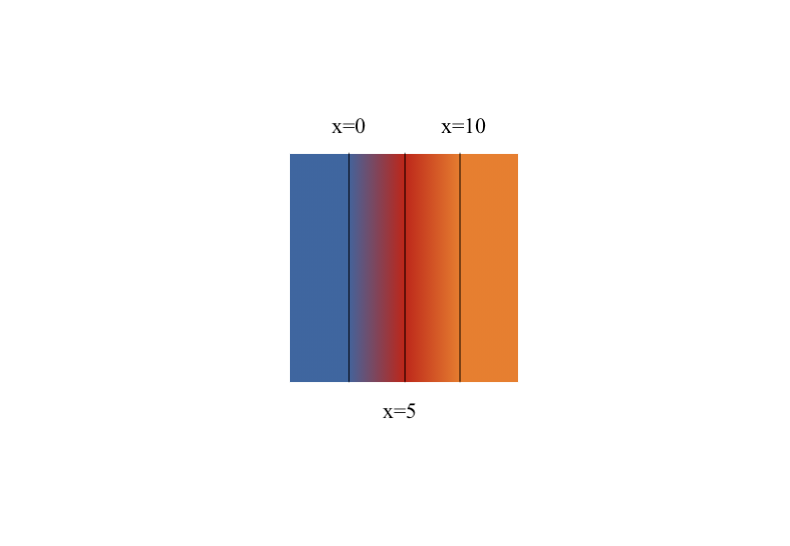
Something might look weird. Why is does x=5 appear to be in the centre of the shape? The way the gradients are defined is that they are centred about the centre of the shape by default. And they are as wide as the last stop. So, in this case, the gradient has a width of 10, centred about the centre of the shape. If we add a blue stop at 0, and a few indicators this should make more sense. This is the code
square 20
  |> filled
    (gradient
        [
            stop blue 0
        ,   stop red 5
        ,   stop orange 10
        ]
    )
And here is an annotated version of the gradient:
To rotate the gradients, you can use the rotateGradient function. This must be applied to the gradient itself:
square 20
  |> filled
    (gradient
        [
            stop blue 0
        ,   stop red 5
        ,   stop orange 10
        ]
        |> rotateGradient (degrees 45)
    )
The gradient is rotated in the same way that a shape would be. All the relative positions of the stops are the same, just in a rotated frame of reference. You can, of course, animate this too.
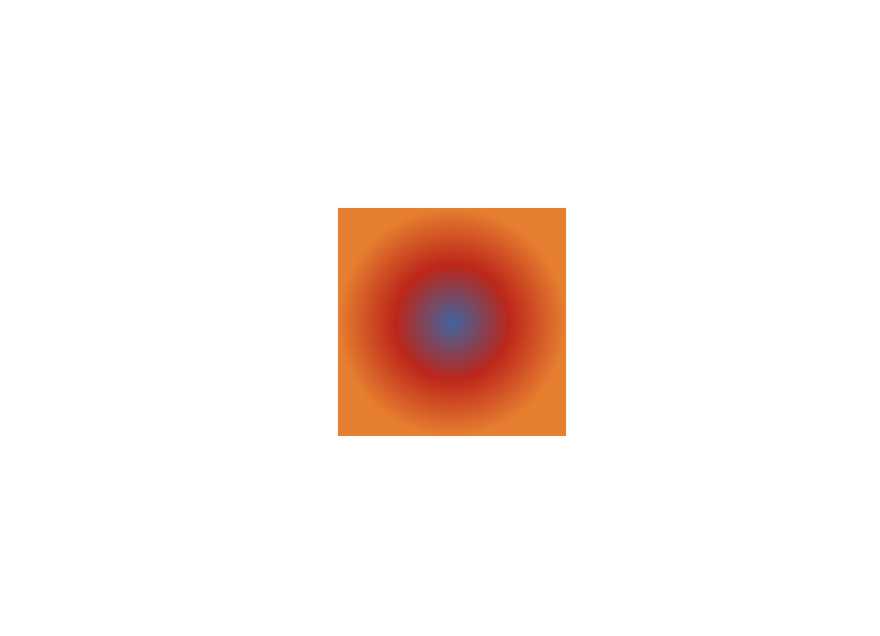
Radial gradients work in much the same way as linear gradients, except that a stop at 0 now represents the centre of the gradient and the last stop is the outer radius of the gradient. Any code you've written for a linear gradient can be easily transformed into a radial gradient and vice versa, just by changing the name of the function. For example, this is a simple change to the linear gradient above:
square 20
  |> filled
    (radialGradient
        [
            stop blue 0
        ,   stop red 5
        ,   stop orange 10
        ]
        |> rotateGradient (degrees 45)
    )
Which produces:
One of perhaps the more powerful ways to use gradients is to use (semi) transparent stops for interesting shadow effects. For this, you can use
the transparentStop function inside your list of stops. For instance, let's say we want to make a sun with rays coming out of it. Let's
make a radial gradient with solid yellow at position 25, and a fully transparent yellow at position 50.
circle 50
  |> filled
      (
          radialGradient
          [
            stop yellow 25
          , transparentStop yellow 50 0 -- yellow at position 50 with 0 opacity
          ]
      )
This will result in a neat glowing effect for our sun:

Of course, transparent stops can be used with both linear and radial gradients.
Enjoy the new gradients! We're excited to see what you can come up with using it!